You will need…
Paint for base
Paint for stencil
Stencil of your choice
Paint brush, foam roller, pan
Painters tarp
Painters tape
Ladder
Instructions…
First decide on which wall you’d like to accent. There are so many great options. Do you have a wall that is already accented with a border, or windows or Wayne’s coating? Choosing a wall like this can look extra stunning. For my project I chose a dining room wall that was inset and accented with windows. The next step is choosing a color. Go to your local paint store and grab some chips that catch your eye and tape them to your wall. This helps you visualize the aesthetic you want to create.
Once you have decided, clean your wall, tape your borders and apply 2 coats tof flat paint. Let the paint dry thoroughly between coats.
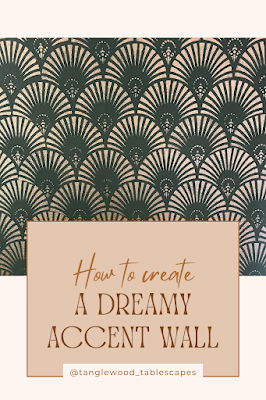
Now it’s time to stencil your wall. Pick a stencil that speaks to you! Royal Design Studio has an amazing selection. I chose “Gatsby” for my dining room. It’s such a beautiful stencil and creates the exact vibe I was looking for.
Royal Design Stencils makes it easy by providing you with a beautiful large stencil and instructions on how to use it. They even give you an extra ceiling stencil which is a lifesaver for this type of project. Check them out here.
The next step is to add paint to your stencil one section at a time. Be very careful not to add too much paint or it will seep under your stencil and ruin your design. I like to use the small foam rollers and found them to be perfect at absorbing just the right amount of paint.
Finally, go over your design with a small paint brush and touch up any minor mistakes or flaws. No need to seal, your accent wall will ready for a reveal. Start to finish this project is fun, challenging and has that WOW factor. You will feel so great that you accomplished this.
Enjoy your new wall!!!


Comments
Post a Comment